The Effect
A crushed and apparently empty soda can is picked up and shown.
The magician rubs the top of the can, apparently resealing the opening.
The can is tilted and gently shaken. It slowly expands back to its original shape while the audience can hear the fizz building inside.
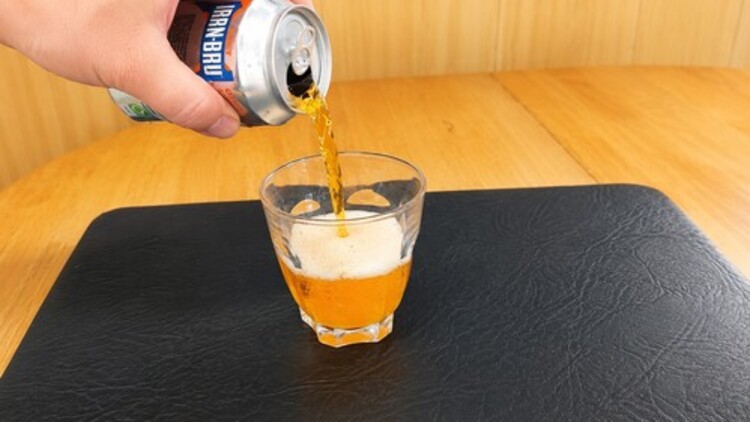
The ring pull is opened for real and the drink is poured into a glass.
🎯 Skills Used
Watch the Tutorial
⚠️ Safety First
Make the small hole carefully and away from the face. An adult should supervise younger performers. Do not drink from a damaged or dirty can, and clean the outside before presenting it.
What You’ll Need
🥤 Full Fizzy Drink Can
Use a highly carbonated drink so the can reinflates strongly.
📌 Thumb Tack
Used to make a tiny hidden hole in the side of the can.
🖊 Dry-Erase Marker
Used to create a removable dark mark that resembles an open can.
🥛 Glass
Used for the final pour and proof that liquid remains inside.
Gather the Props
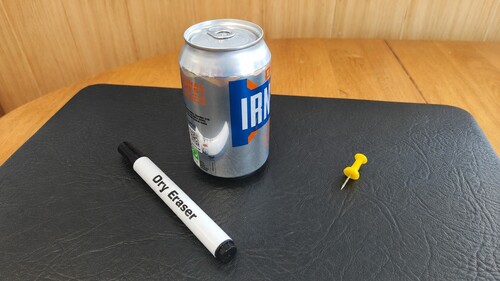
Choose a full can of a very fizzy drink.
Have a safety push pin and a black dry-erase marker ready.
Make the Secret Hole
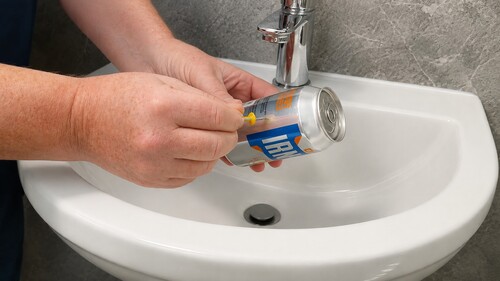
Carefully make a tiny hole about one-third of the way down from the top of the can.
The hole should be small enough to cover completely with a fingertip.
Partially Empty and Crush the Can
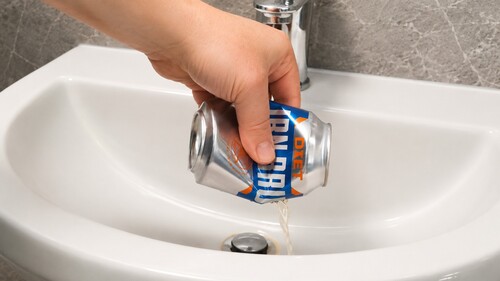
Tip the can so some drink escapes through the small hole.
Gently squeeze the can inward while releasing liquid.
Leave enough soda inside to create pressure and produce a convincing final pour.
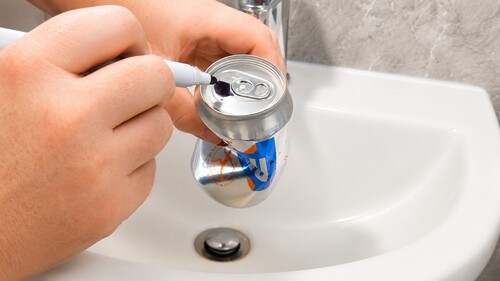
Create the Fake Opening
Colour a small area on the top of the can with the dry-erase marker.
Alternatively, you could even use a small circle of black paper and position it so that it is held in place by the ring pull tab.
From the audience’s viewpoint, the black mark should look like the can has already been opened.
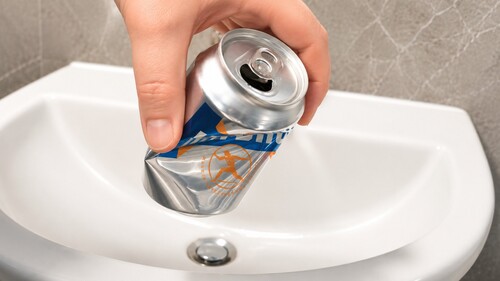
Show the Can
Display the crushed can and let the audience notice the false opening.
Keep the small side hole covered or turned away from view.
Do not shake the can yet.
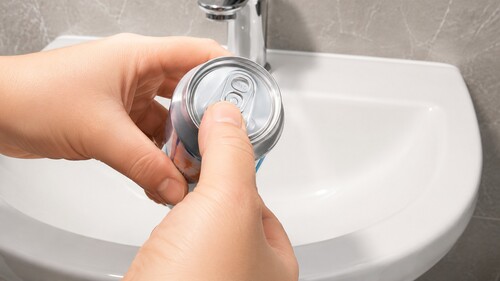
Reseal the Top
Rub the dark mark with your thumb as though magically repairing the lid.
The dry-erase ink wipes away, making the opening appear to seal itself.
Pause briefly so the audience can register the visual change.

Restore the Can
Cover the secret hole with a finger or thumb.
Tilt the can gently from side to side.
The soda releases carbon dioxide, increasing the internal pressure and pushing the crushed metal back toward its original shape.
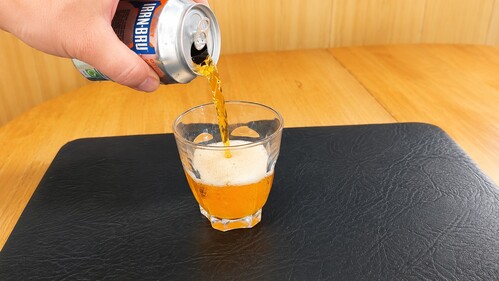
Open and Pour
Keep the side hole covered and pull the ring tab open for real.
The reassuring hiss confirms that the can contains a fizzy drink.
Pour the soda into a clean glass as the final proof.
Why the Trick Works
The audience assumes the can is empty because it is crushed and appears already opened.
The removable marker creates the illusion that the opening has resealed.
Covering the pinhole allows pressure from the remaining carbonated drink to reinflate the can.
The real hiss and pour at the finish make the restoration seem genuine.
Presentation Tips
Place the prepared can somewhere casual before the performance, such as on a table, so it appears to be ordinary litter.
Let the audience see the crushed shape before beginning the restoration.
Move slowly while the can reinflates so the visual change is easy to follow.
Keep the hand position natural while covering the side hole.
🎩 Magic Tip
The effect is strongest when the can appears to have been found casually rather than introduced as a special prop.
Common Mistakes
Do not make the side hole too large.
Avoid removing too much liquid from the can.
Do not use a permanent marker.
Keep the secret hole covered during the restoration and final opening.
Do not crush the can so severely that the metal cannot expand again.
Practice Plan
First test the hole size and how much liquid to remove.
Practise wiping away the fake opening in one natural movement.
Rehearse the hand position that covers the hole while tilting the can.
Perform the complete sequence over a sink until the timing is reliable.